
Tutorial - World Eaters Contemptor Dreadnought Part #4 - Combat Claw
In this tutorial installment, I am going to cover how I rebuilt the Plastic Contemptor Combat Fist into a Combat Claw.

First up you need to grab your B@C sprue

Once you remove them from the sprue, you'll end up with the following pieces.

Go ahead and assemble the top portion of the arm itself, NOT the fist section. You may want to think about magnetizing the shoulder socket at this time. Once that is complete and dry, place it off to the side, for later.
OK, so now you have the fist.

You now need to take some clippers and carefully clip the finger tips from the power

Next, you'll need to go grab your Blood Angels Furioso Castaferrum (Box) Dreadnought and sort out the pieces for the power claws. Likely no one has one of these laying about, because Blood Angels in 40k are a pile of poo, codex-wise, and box Dreadnoughts are still sub-par, until GW fixes hull points and armor value and converts these things to monstrous creatures with high toughness. But that's another conversation, which I don't cover here.

Now I looked at the "rings" a long time, tried to work out if I could drill it out. But at the end of the day, you're best served grabbing the parts, highlighted below, and toss the rest back into your bits box.

To make your new combat claws fit the B@C power fist housing, all you now need to do is glue the suckers onto the finger stumps. You can opt to reinforce them with pins, but a good polystyrene cement should do the trick.

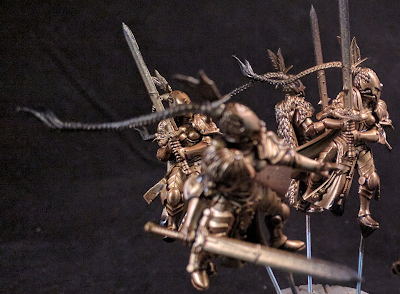
And this is how it should look. Apologies but the focus is a little soft.

NOTE: I did pin the claws for my earlier Bjorn conversion, mainly because I wanted to point his larger claws in different directions, and make it look as though there was some movement. So if you want to do the same here, go right ahead. It is relatively simple and works.

APPENDIX: IF you want to install these claws into your Forgeworld Resin Combat Fist and/or Combat Claw, you're going to need to do some panel beating on the claws. You'll notice they are a smidge wide and a little too long.
So you'll have to nip the ends off the claws.

And then you'll need to trim the sides. This part is actually important because there are some details that you want to retain, as they will be visible. And this is also applicable if you want to switch out the claws on the Forgeworld resin counterpart.
So lets term this as the following:
- Index - Snip the end and ONE side
- Middle - Snip the end and BOTH sides
- End - Snip the end and OPPOSITE side to Index
- Thumb - Snip end and BOTH sides

The reasoning behind trimming the ends is so the fit in under the cool skull knuckle details. Also note that the Index and End claws are actually open on the resin fists, so you'll want to retain these details, seen below.

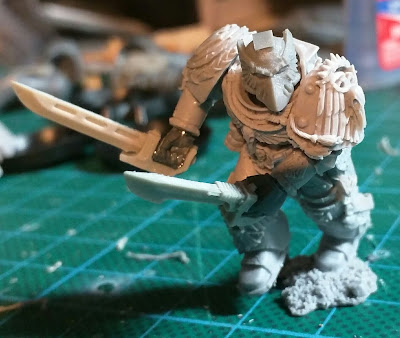
So now you have a some trimmed up claws glue them into the fist. It should turn out a little like this one.


Next up, further work on the VI Legion Leviathan.


Comments
Post a Comment