
Space Wolves Venerable Contemptor Dreadnought #7
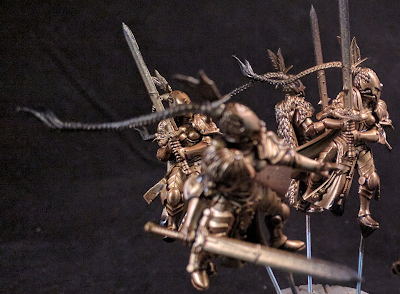
This is how the Contemptor turned out.

Adding the Contemptor to the base (prior to adding ballast)


From the rear.


From the rear.

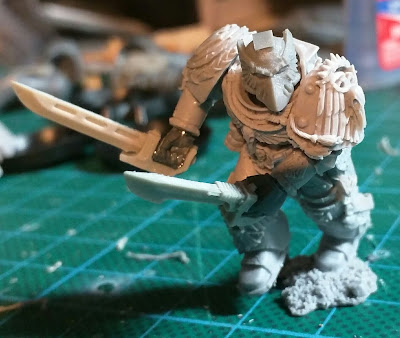
Time to hit the spray booth.


Comments
Post a Comment